“A lot of pharmaceuticals.” That’s usually my first answer when somebody asks, “Man, what are you doing?”
Slightly sarcastic. Also true.
My earliest recorded weight was 165 kilograms—about 364 pounds—in February 2026. By September, I’d been down to 116 kilograms—about 256 pounds. People notice a change like that, and the explanation takes longer than a passing conversation.
So I built Lab Rat Zer0. Here’s what I changed, what my days look like, what I’ve learned, and the equipment I actually use.
27 items · 5 kits · 1 stacks · updated 2026-09-25
Start Here
These are the must have items to get going with peptides that you are going to manage yourself.
Customer support is the reason I keep coming back. The operator makes themselves available, and on the rare occasion something has gone wrong, they’ve resolved it promptly and exceeded my expectations.
The easy checkout was what initially drew me in. I appreciate a site that makes finding and ordering products straightforward. Those are descriptions of my purchasing experience. Neither customer service nor an easy checkout establishes product quality; I check the testing separately.
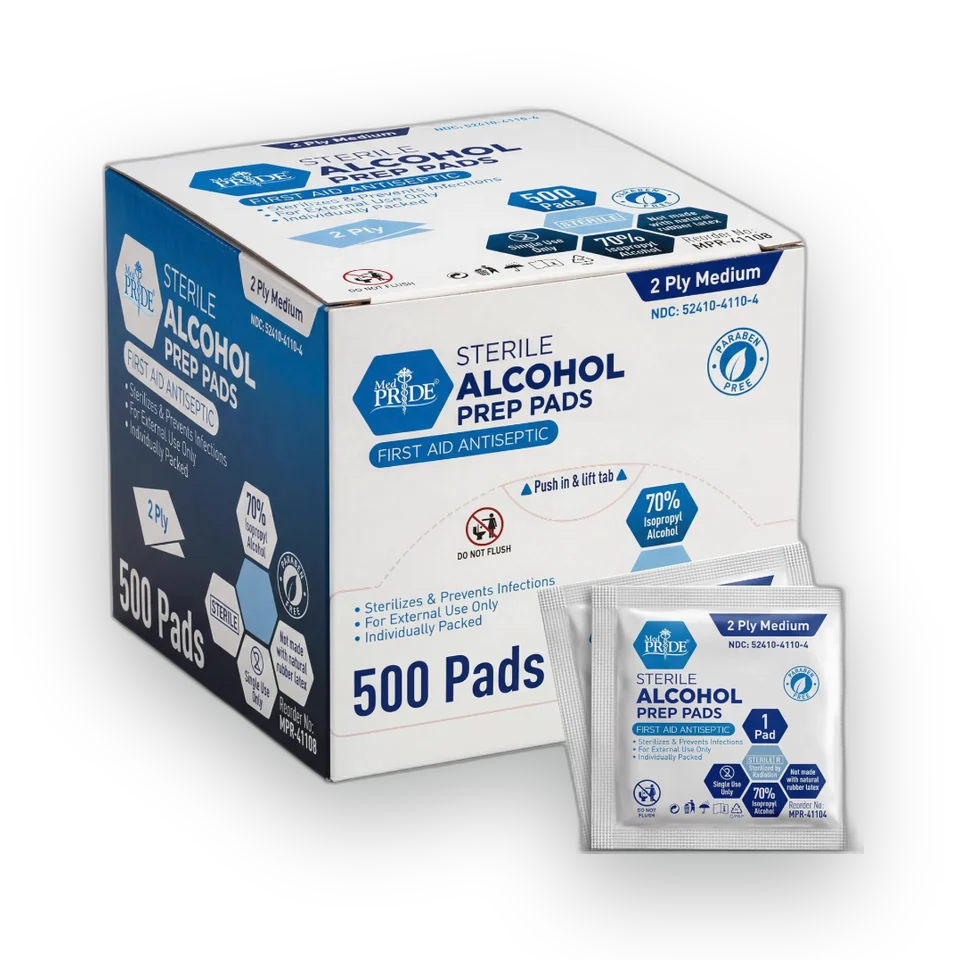
Reconstitution is just adding bacteriostatic water to the powder in the vial. Swab the stoppers, draw the water, and run it slowly down the inside of the glass so it dissolves on its own — swirl, never shake — then date the vial and put it in the fridge. The whole thing takes two minutes once you've done it twice.
The one mistake everyone makes once: assuming you fill the vial with a full 3 mL syringe of water. The amount of water is chosen, not fixed — it's set by the dose your protocol calls for and the injection size you want to draw in units on an insulin syringe. More water means a bigger, easier-to-measure draw; less water means a smaller one. Work that number out before the water goes in, because you can't take it back out. Did I mention — Never Shake! Also, there is a million videos on YouTube about this, watch a few of those...this is easy-peesy.
optional
The one bottle you will never regret buying two of. Can't really have too much.
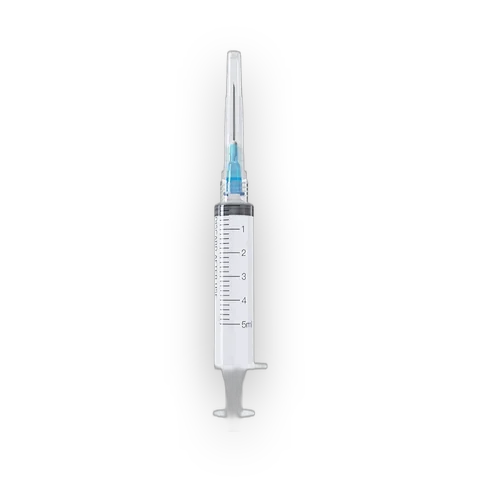
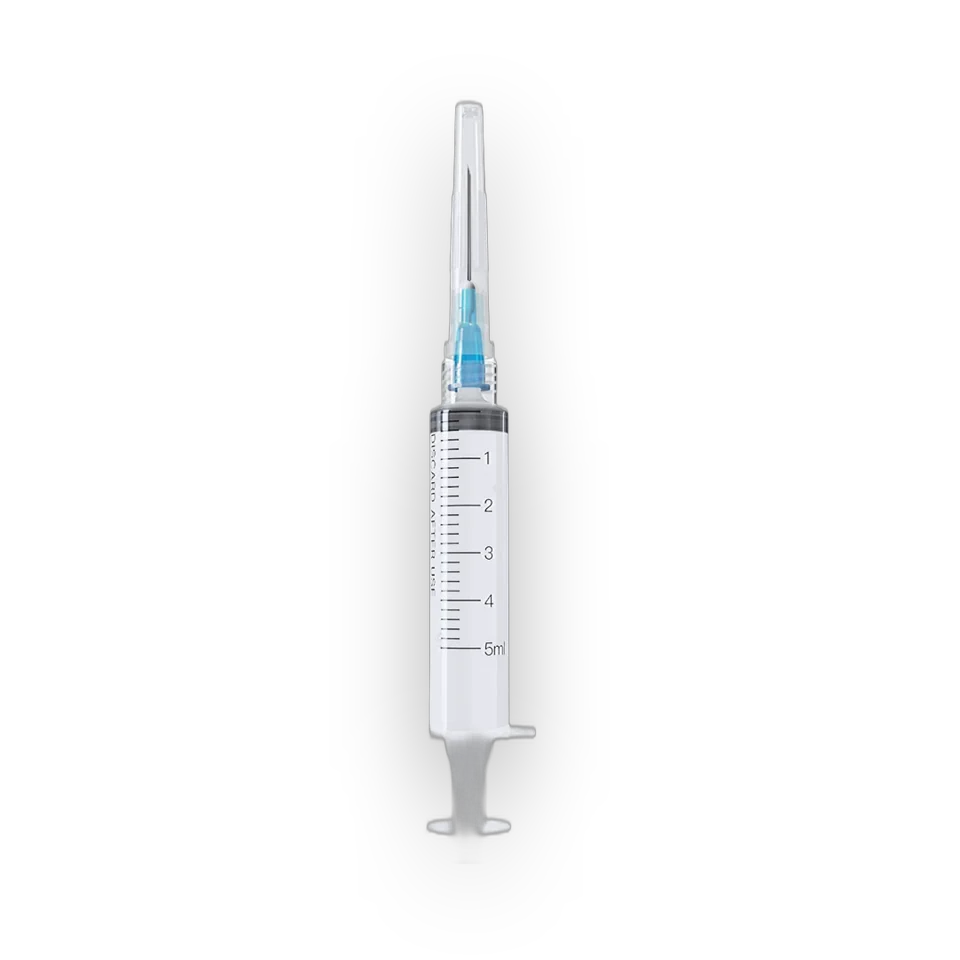
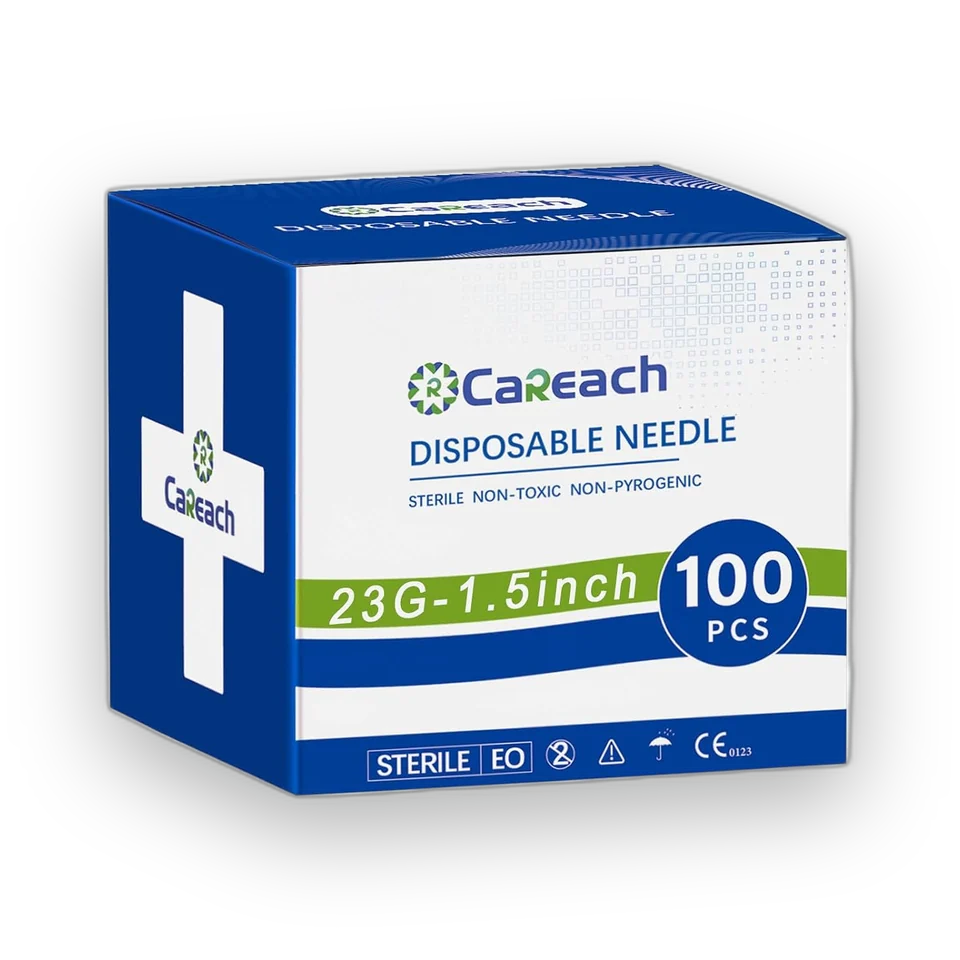
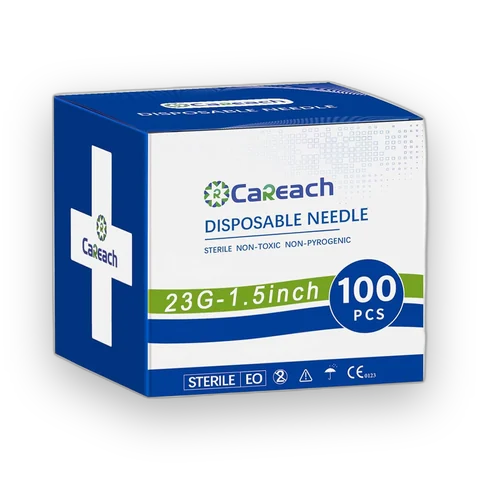
These are for drawing bac water and dispensing into the vial down the glass wall, never onto the powder. I use a smaller gauge needle here to avoid unneeded damage to the rubber stopper on the vials.
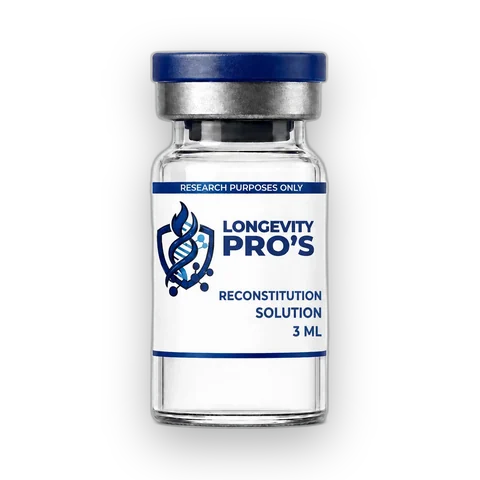
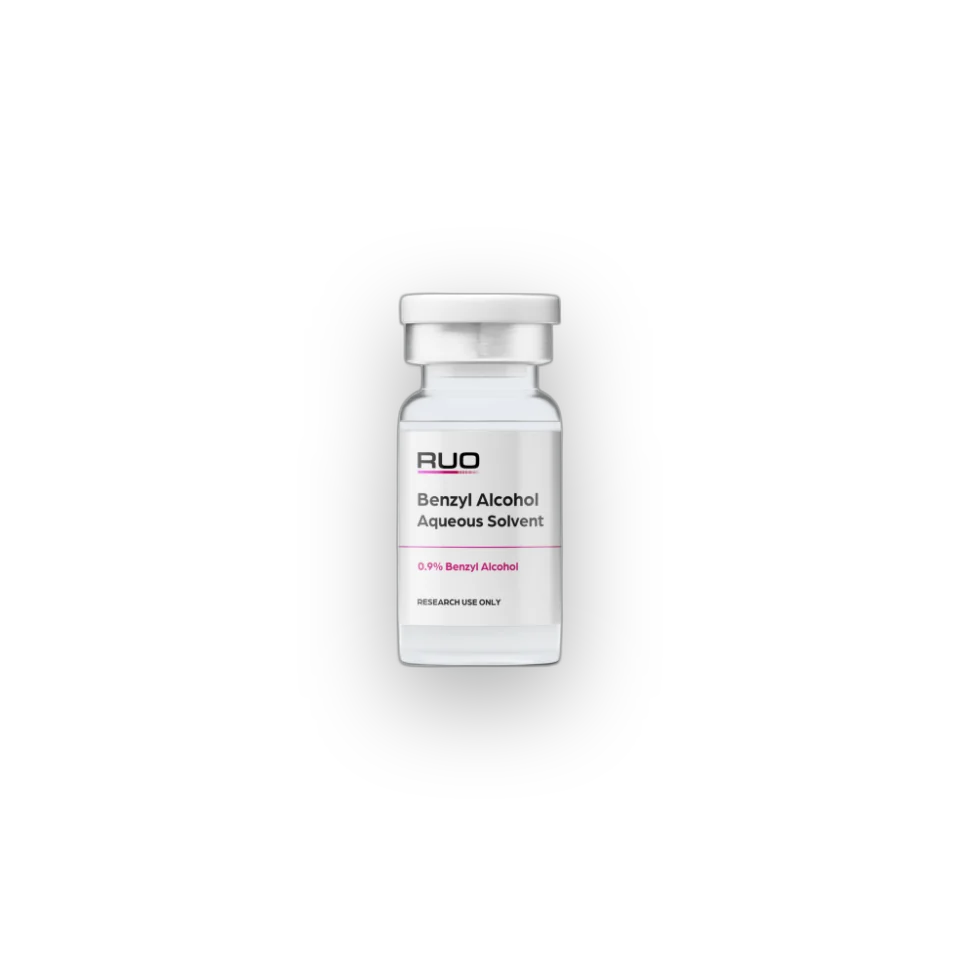
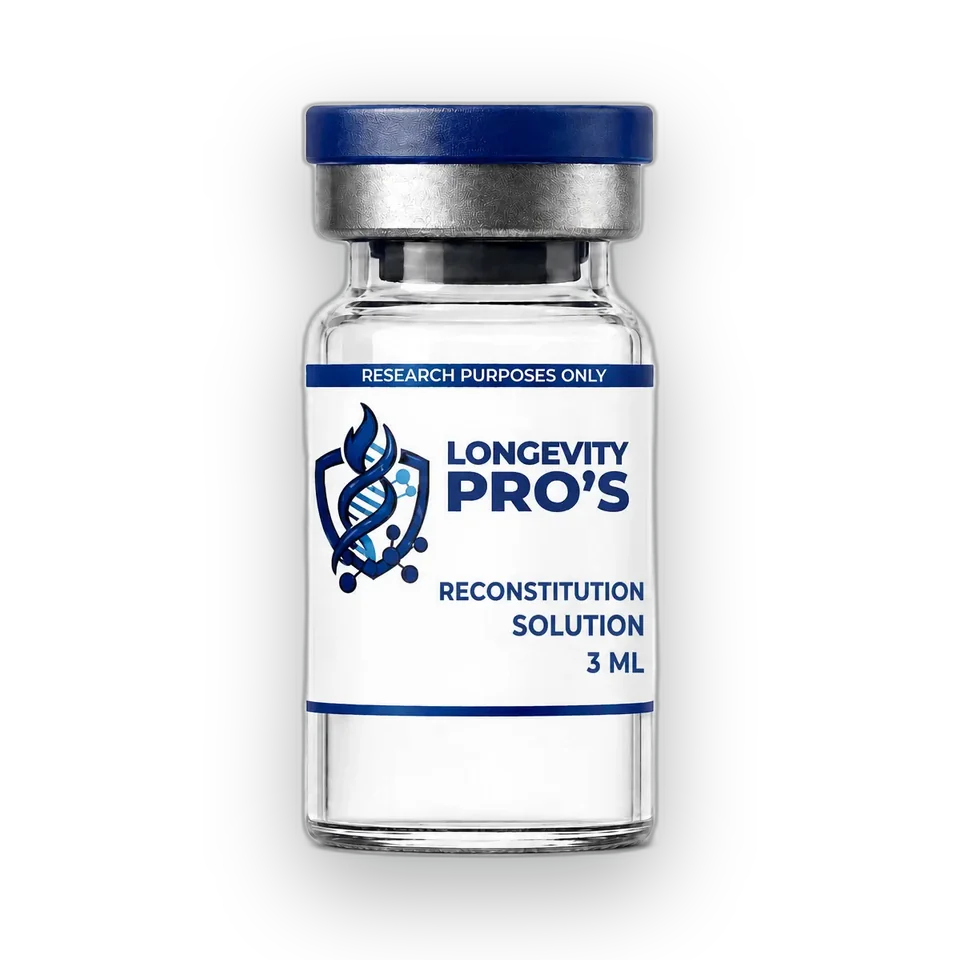
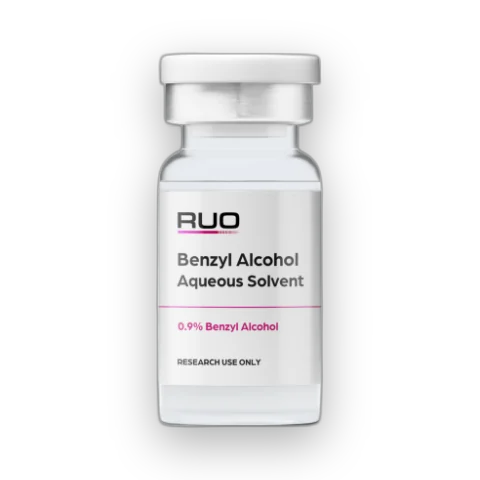
This is what the peptides get reconstituted with — the benzyl alcohol keeps a multi-dose vial usable for weeks after the first puncture instead of one-and-done. The 3ml size matches a single vial per vial, so nothing gets contaminated from repeated draws. Must have, if you're buying from Longevity get one for every vial you buy.
These are my reconstitution needles. fast draws without jabbing the stopper around. Also, great for venting vials and cartridges. Luer lock so nothing pops off mid-draw.
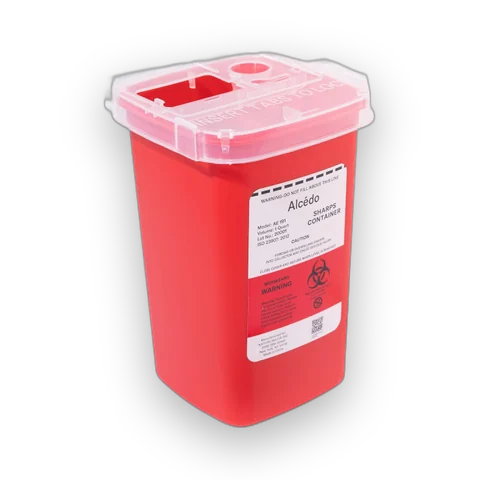
There are a lot of resources out there about choosing injection sites. The bottom line is stay about 2 inches away from your belly button and don't over use any single spot. As far as equipment goes, anymore I mainly use peptide pens and 31G 8mm pen tips, although I've been moving more and more to the 28G 12.5mm tips to prevent leaking as a result of the short needle. Sharps container are good idea, I use a strong walled plastic shake bottle for all my used tips and syringes.
essential
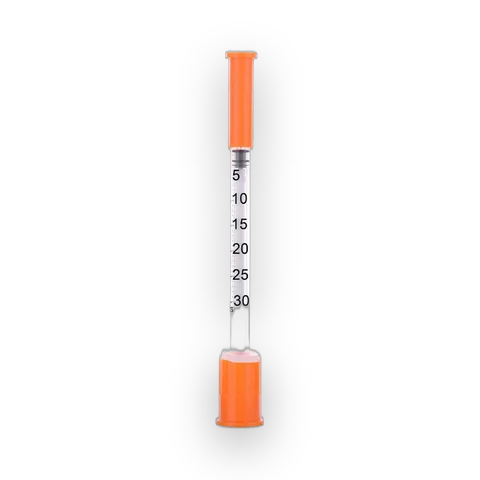
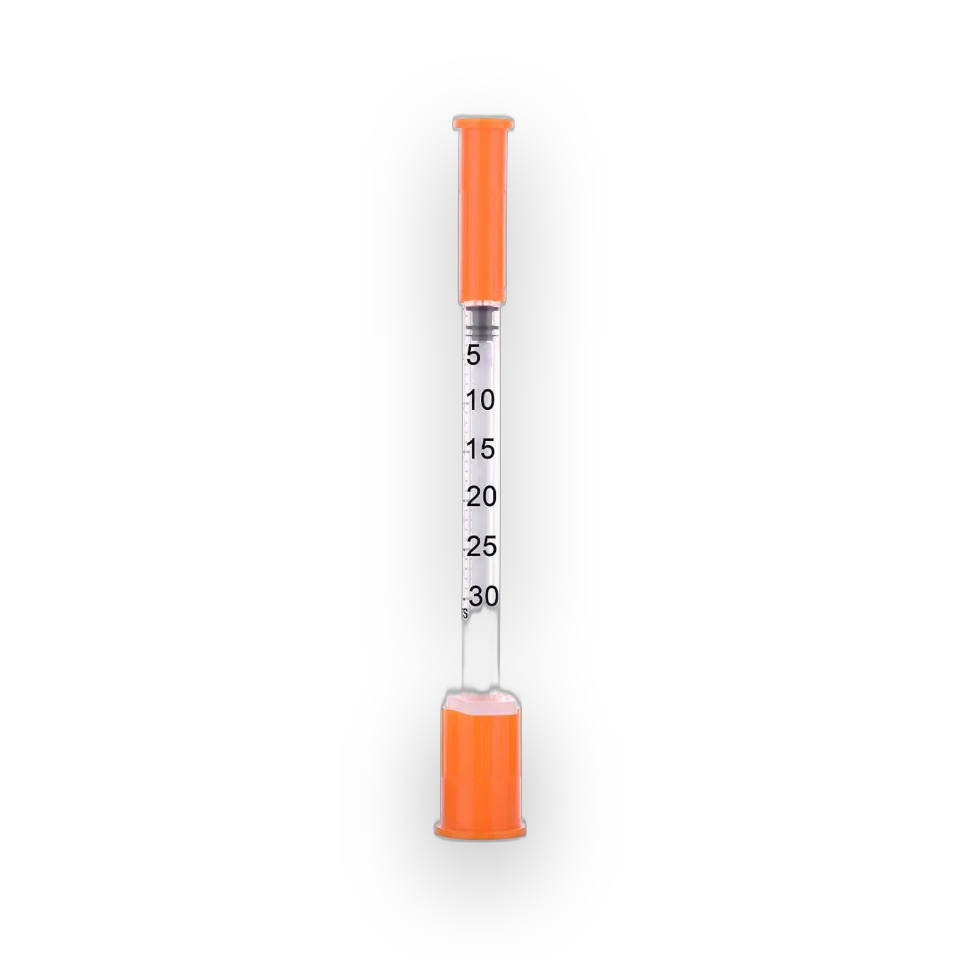
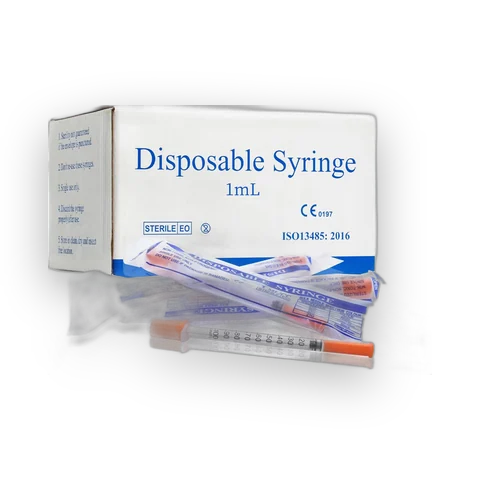
This is the size and gauge I settled on after trying three. Half-unit marks matter — small doses are guesswork without them. Also good for venting vials.
0.3 mL · 31G × 5/16 in · half-unit marks · 100 ct
Check the units on the barrel before you draw. Every time.
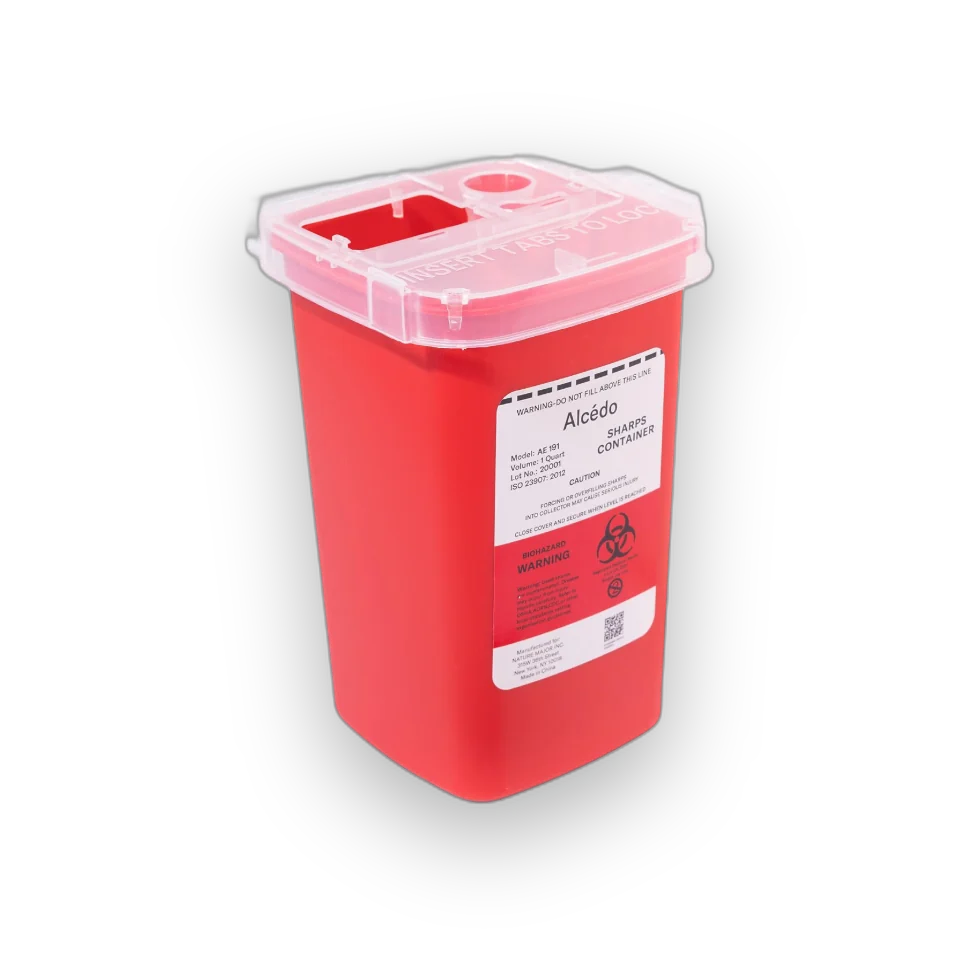
Because a coffee can is not a plan. The locking lid means no needle surprises, and the clear side lets me see when it's actually full instead of guessing. Small enough to travel with the kit too. This is the right way to do things.
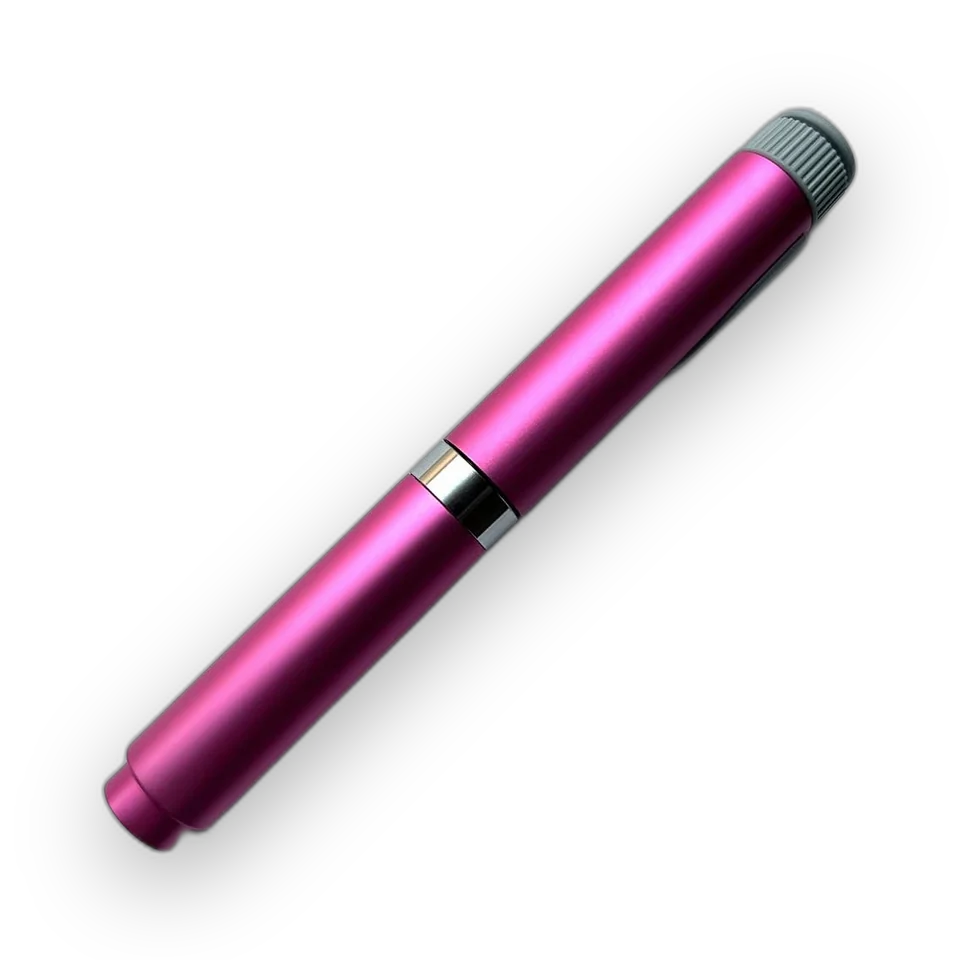
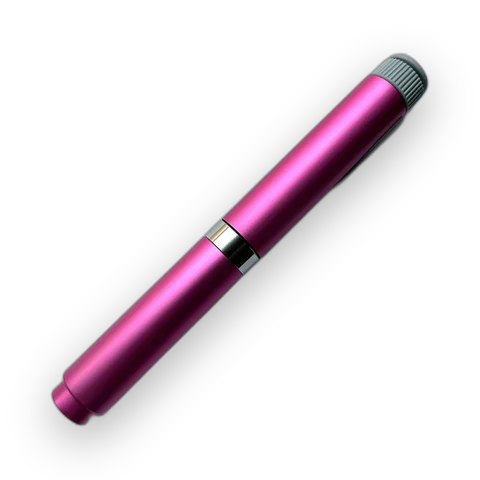
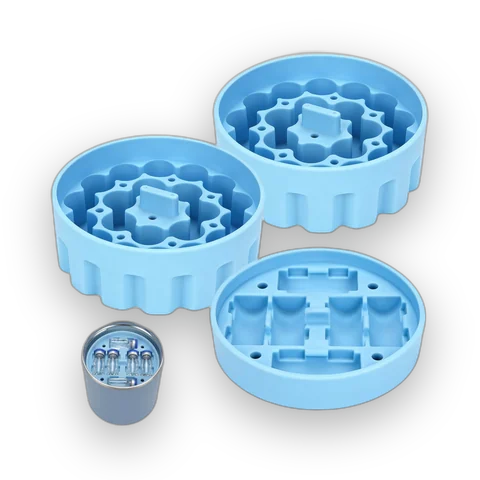
This is the dosing half of the peptide setup — the pen takes standard 3ml cartridges. The body is all metal and fully reusable, not one of the disposable pens you toss after a single use, and it dials in precise 1-unit clicks up to 60 units. Nothing proprietary either — it runs standard ISO-spec 3ml cartridges and needles, so replacements are cheap and everywhere. The filling block is the sleeper piece of the kit: it holds 4 cartridges while you're prepping, which is what makes batch days quick instead of fumbling one at a time.
60 unit max dose · 1-unit increments · takes ISO standard 3 mL cartridges · metal body
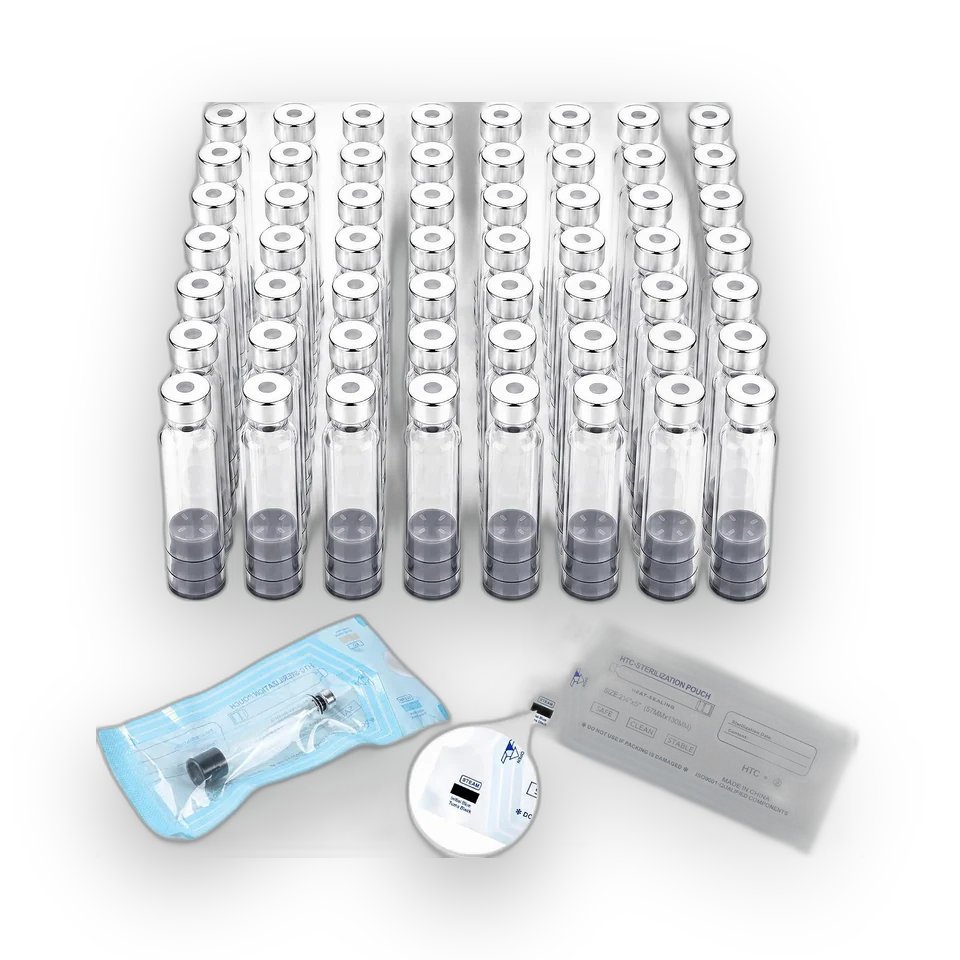
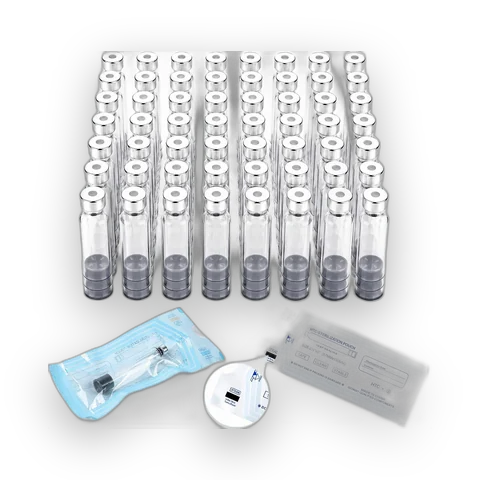
These are the refill cartridges I use with my reusable peptide pens. Each holds 3 mL and comes individually wrapped. The 70-pack is good value for keeping replacements on hand.
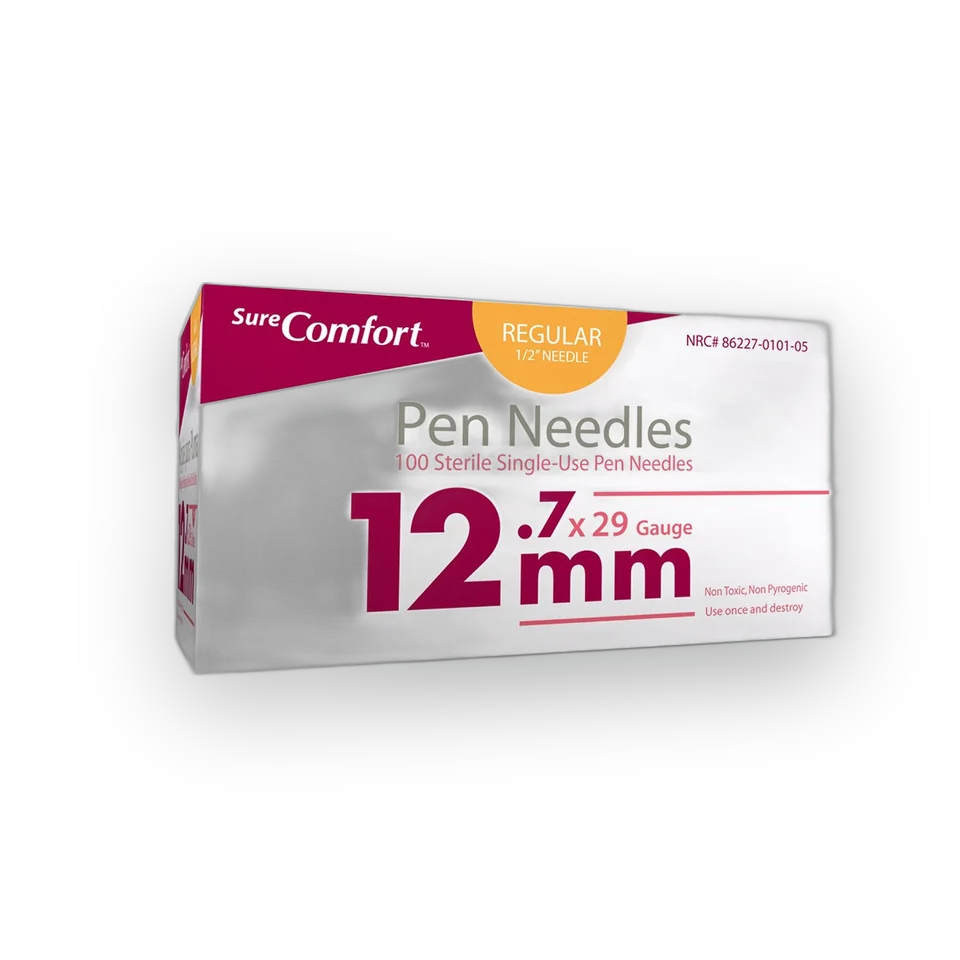
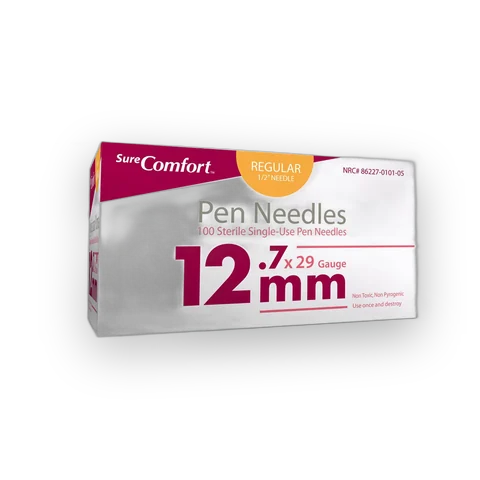
29G is a good middle ground between comfort and flow. I use these with my TRT. The Oil flows through easily. Twist on, inject, done. Works with every pen I've tried, and the 100-count box lasts a while.
29G × 1/2 in · 100 ct · twist-on · universal pen fit · single-use
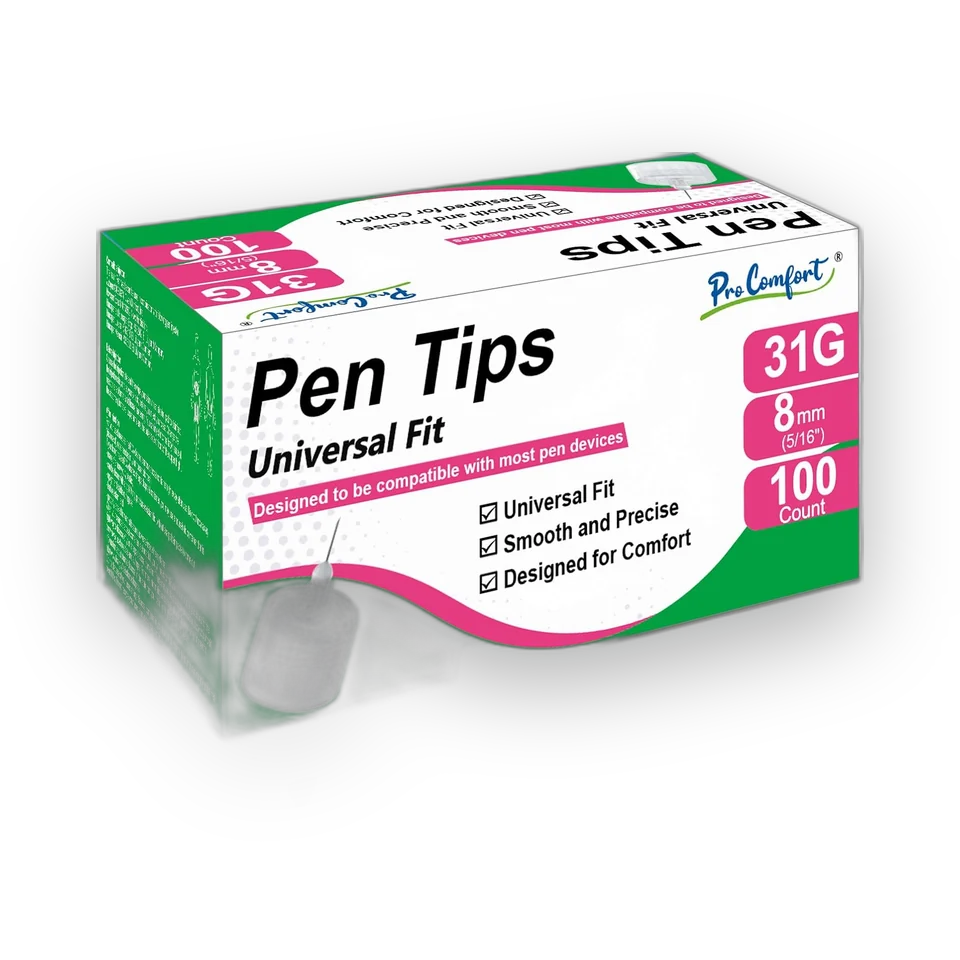
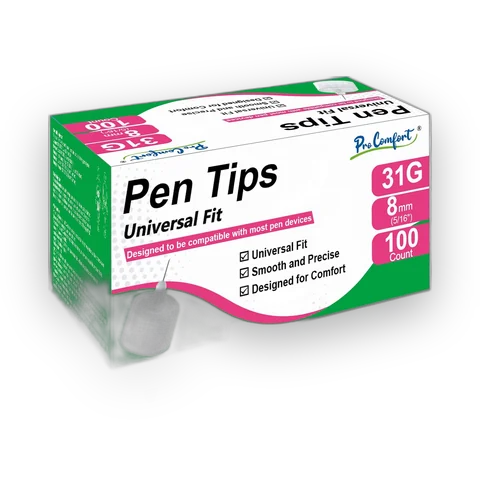
The one consumable you actually go through with the pen setup, so it's worth getting right. These are 31G x 8mm — 31 gauge is the extra-fine end of the range, and 8mm is the standard subcutaneous length, which means the shot is basically unnoticeable. The "thin-wall" tech matters more than the marketing makes it sound: a thinner steel wall means more flow through a finer needle, so even thick solutions push through smoothly at the same 1-unit clicks
31G · 8 mm · universal fit · individually sealed · 100 ct
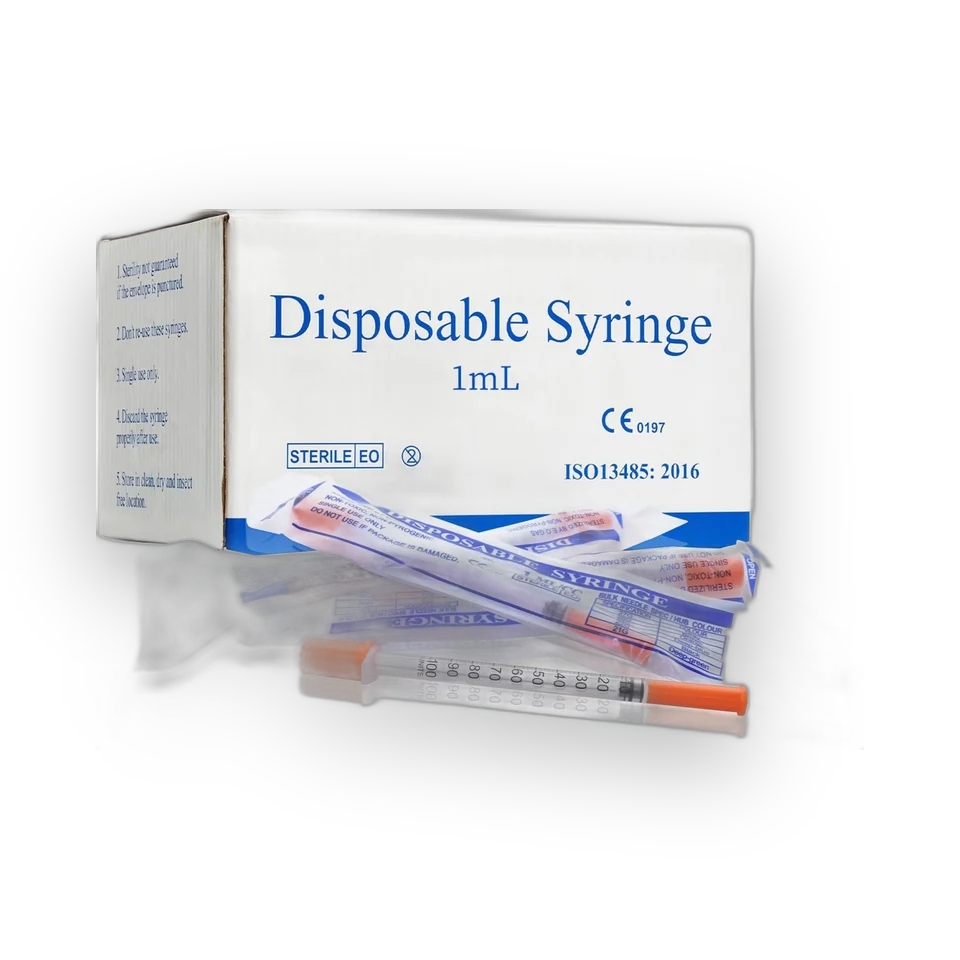
Same gauge as my 0.3ml ones but the full 1ml barrel — handy when I'm drawing bigger volumes or prepping cartridges. Individually sealed, so a few live in the travel kit. These are also the starter size, not every dose fits in the 30iu option.
1 mL · 31G × 5/16 in · individually sealed · 100 ct
This is what the peptides get reconstituted with — the benzyl alcohol keeps a multi-dose vial usable for weeks after the first puncture instead of one-and-done. The 3ml size matches a single vial per vial, so nothing gets contaminated from repeated draws. Must have, if you're buying from Longevity get one for every vial you buy.
The clinicians will tell you 28 days is the most you can keep a reconstituted vial in the fridge at 36 °F. Technically they're right. However, I’ve personally used reconstituted peptides after 60–70 days refrigerated and continued to notice the expected effects, without any problems that I observed. That’s my experience; I haven’t established their remaining potency or sterility through testing. kept dark, handled gently, and in a fridge that's genuinely cold. The thermometer card in this kit is how I know it is. That is for all the lawyers out there...all this business is at your own risk and this is *not* medical advice.
Past the 30-day mark, though, you check every draw. Hold the vial to the light: if there's anything floating in it or the colour has changed, it's done. Discard it, no exceptions.
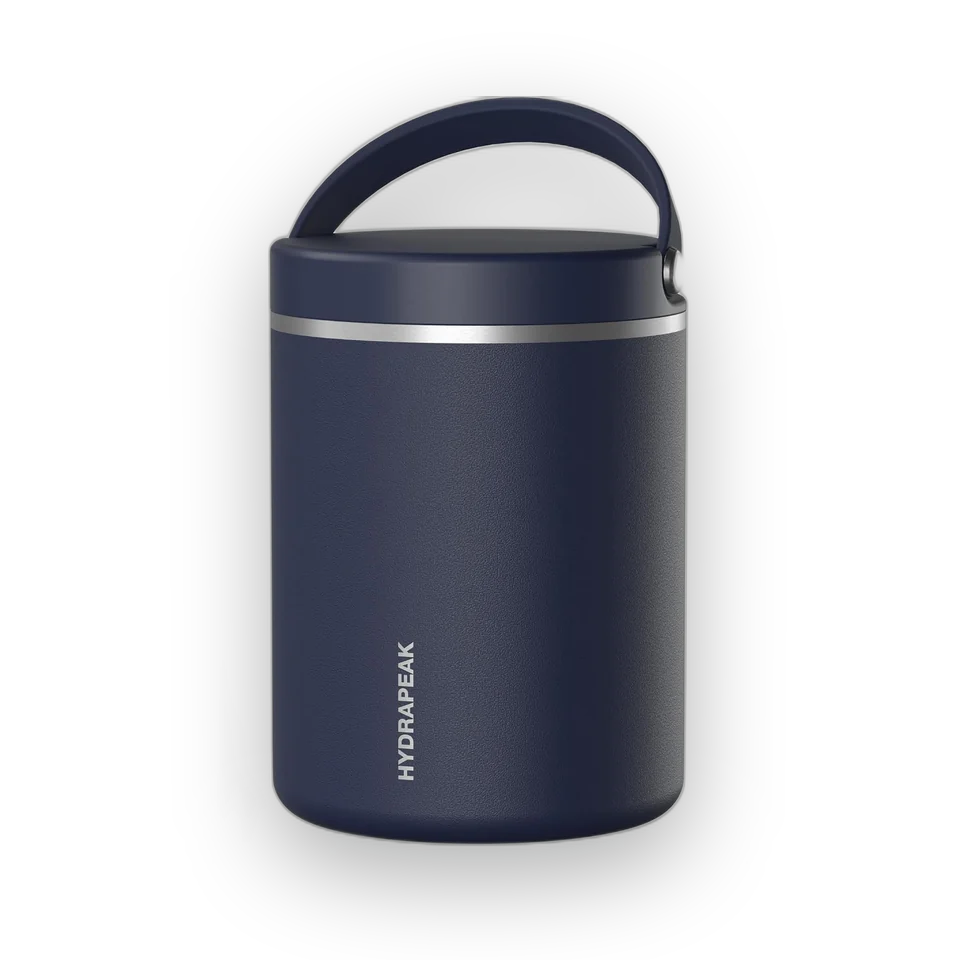
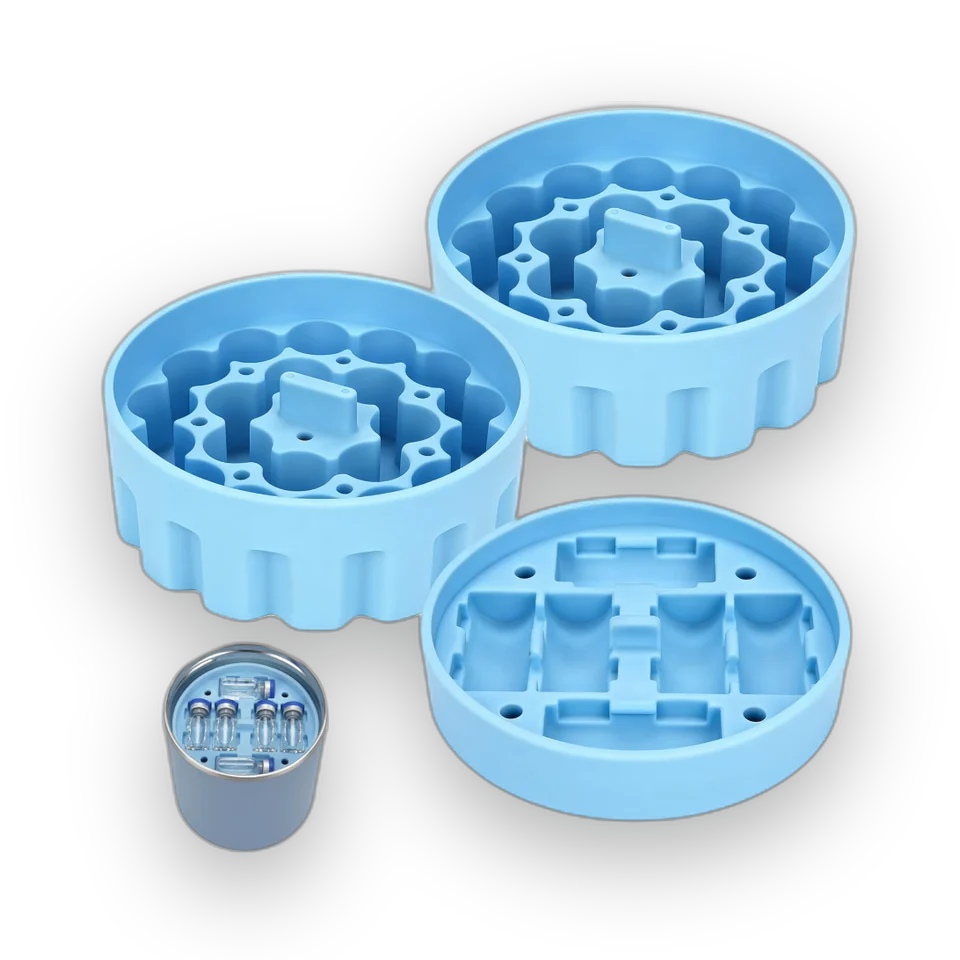
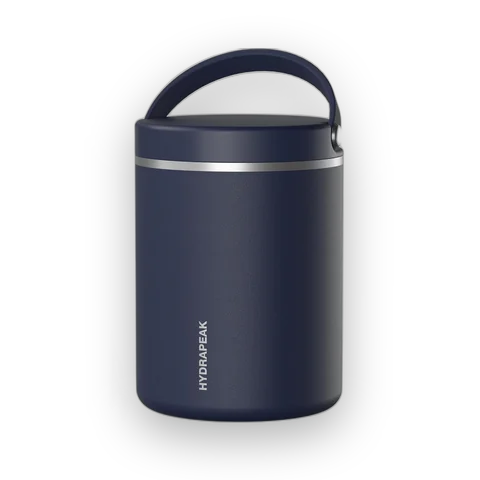
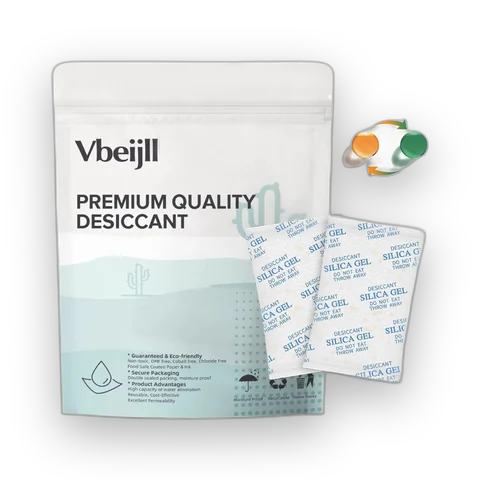
Unopened, lyophilized vials go in the freezer at -4 °F (−20 °C), where they keep for years. Mine live in a soup thermos with silicone inserts — a hundred 3 mL vials in a container that holds its temperature, stays dark, and survives being knocked around.
recommended
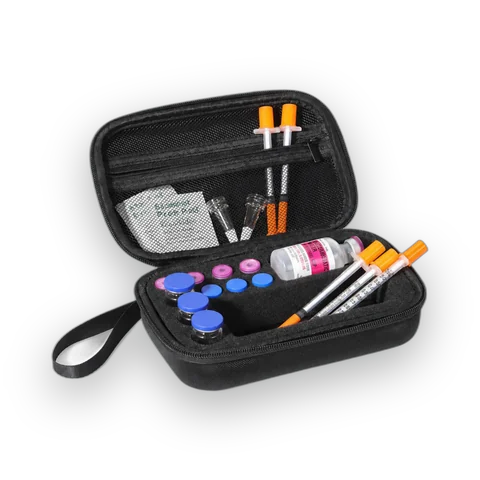
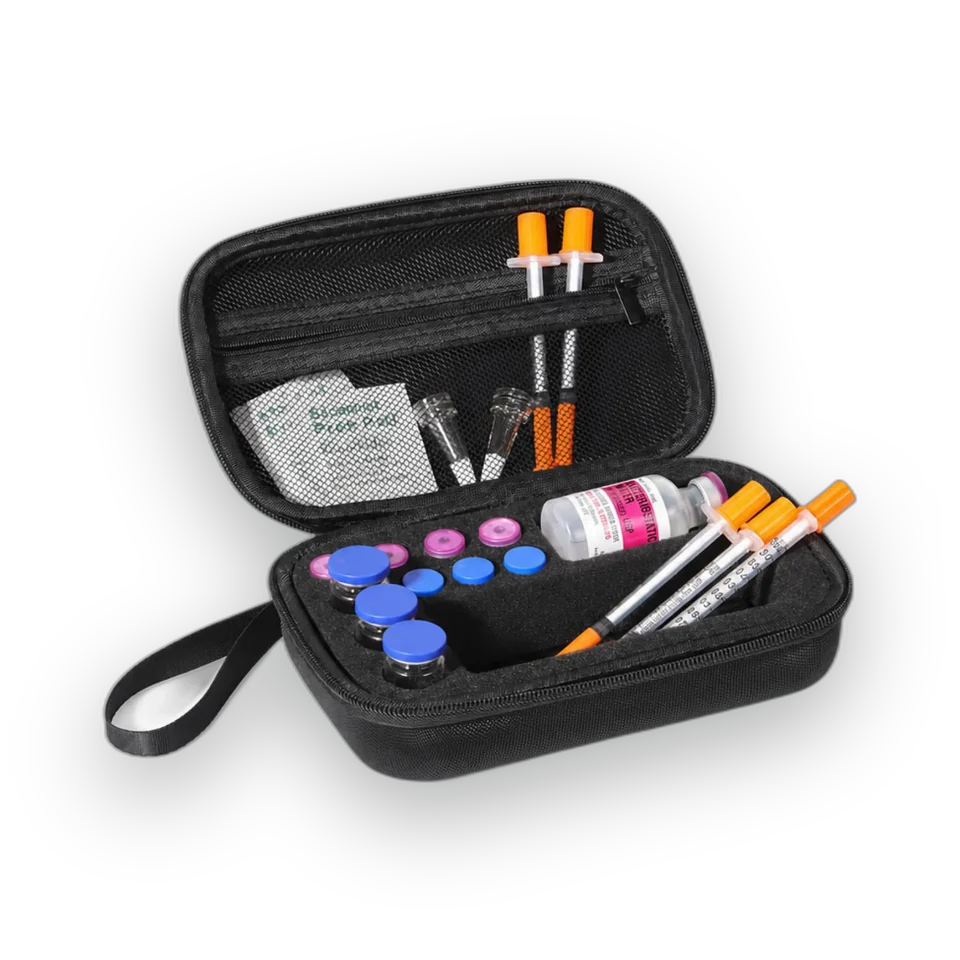
This keeps your vials upright and away from the yogurt. This hold a small number of reconstituted vials, syringes, and prep pads keeping a little of all you need together.
EVA hard shell · 7× 3 mL slots · 3× 10 mL slots · 1× 30 mL slot · 6 silicone caps included
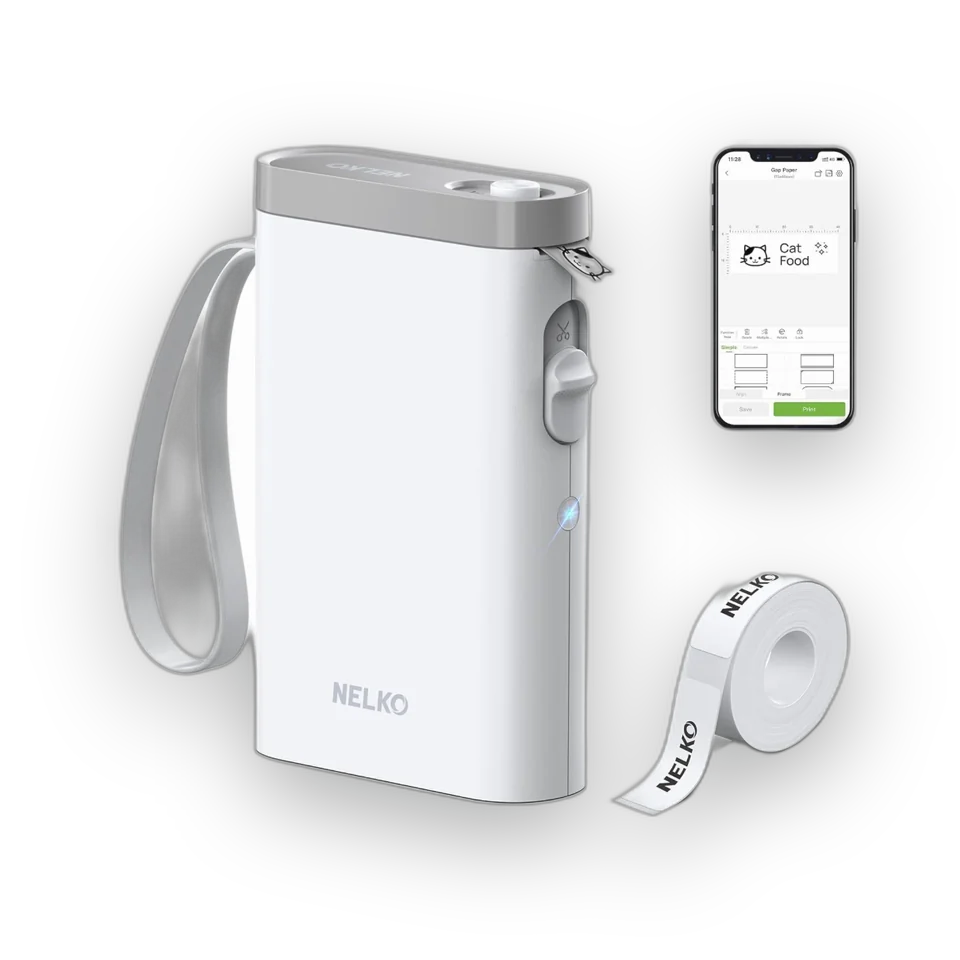
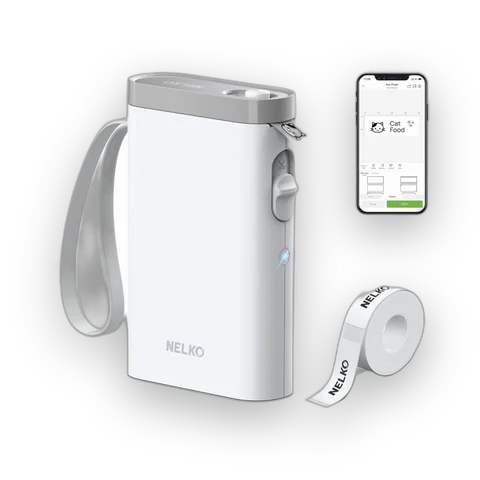
I label each vial with its name, concentration, and reconstitution date. Since I mainly use pens, I label the pen body too. The P21 keeps those details readable without relying on my handwriting.
The P21 label maker features BPA-Free Direct Thermal Technology. The label maker comes with a long-lasting built-in rechargeable battery for extended use. This label maker prints in monochrome (black text only). Note: Charging adapter not included
Holds 48 3ml vials upright in my Hydrapeak — the piece that turns "vials in a thermos" into a system. Freezer, fridge, or cooler, nothing tips or rattles.
Seamlessly compatible with 32oz, 25oz, and 18oz Hydrapeak food jars! Securely holds 3ml vials in place, eliminating shaking and collisions.
Taurine to help regulation of Heart Rate. This is to aiding offsetting the effects of the extra Glucagon.
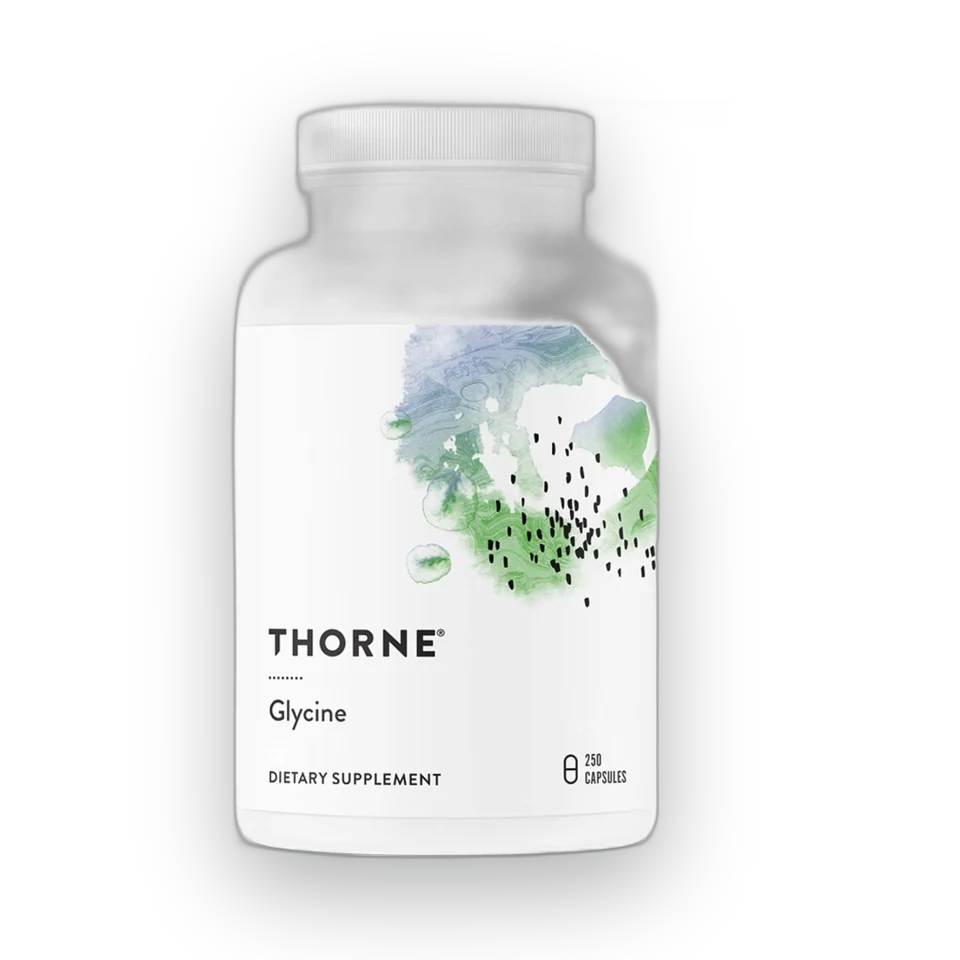
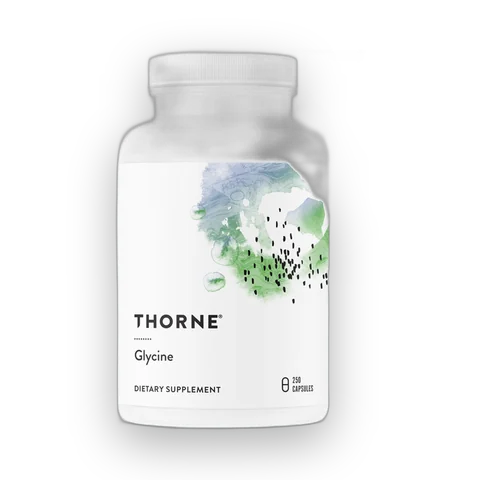
Glycine to help with collagen productions and skin health, also in doses above 3g can help lower body temp to assist with sleeping.
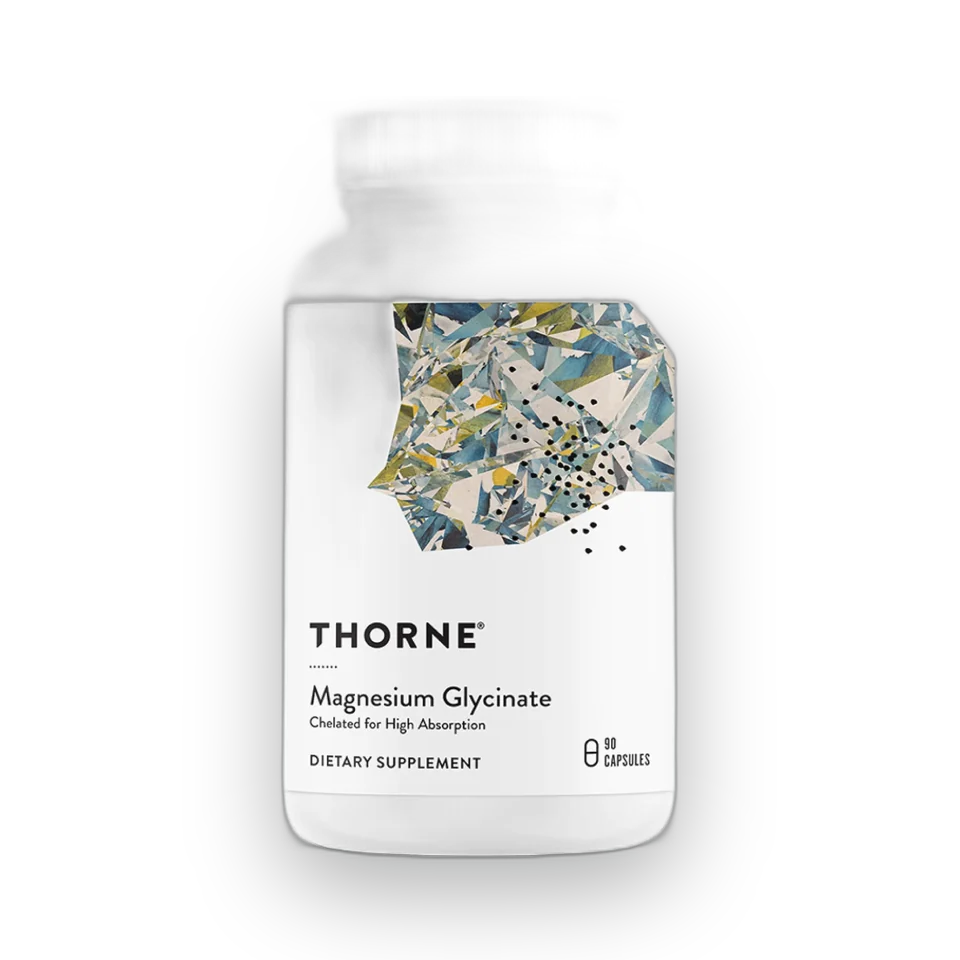
Magnesium in conjunction with potassium and sodium to keep the electrolytes in balance.
recommended
I use this help down regulate the heart rate before sleep to promote restfulness and a complete nights sleep.
My nightly sleep-support partner to the magnesium. A simple amino acid that calms the nervous system — smoother wind-down, faster sleep, no morning grogginess. Cheap per serving and third-party certified.
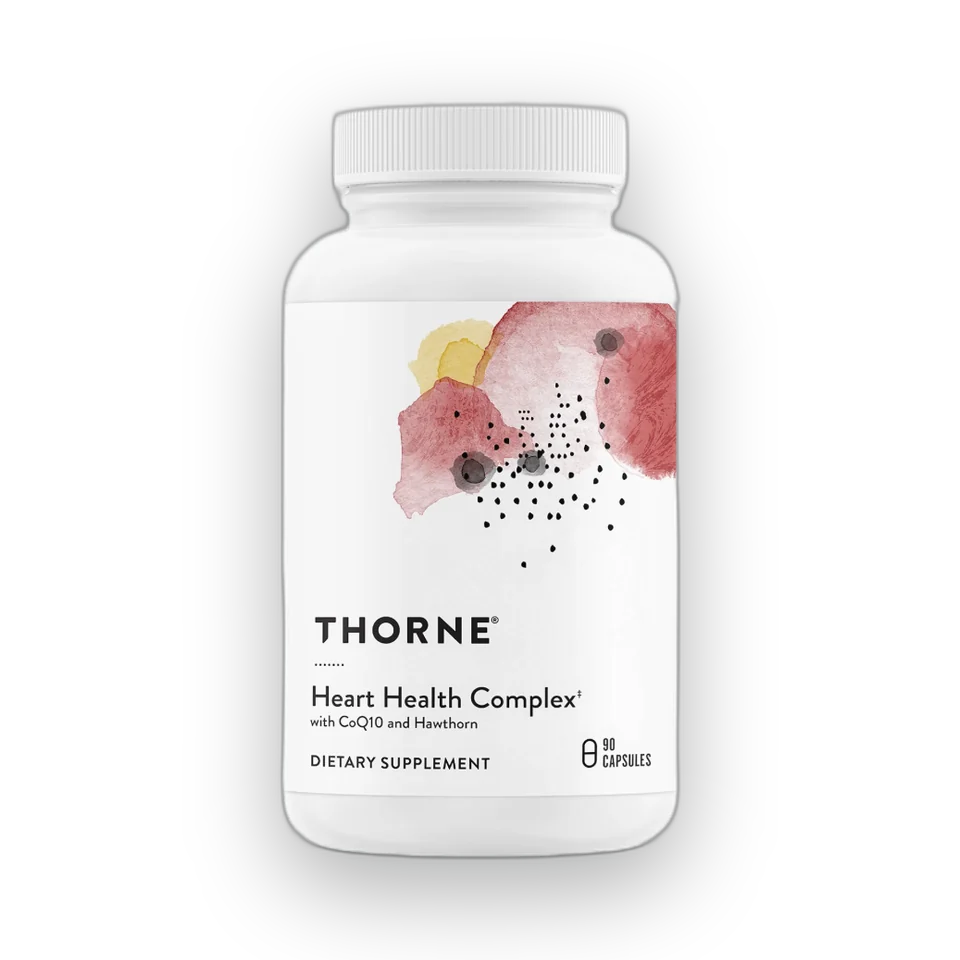
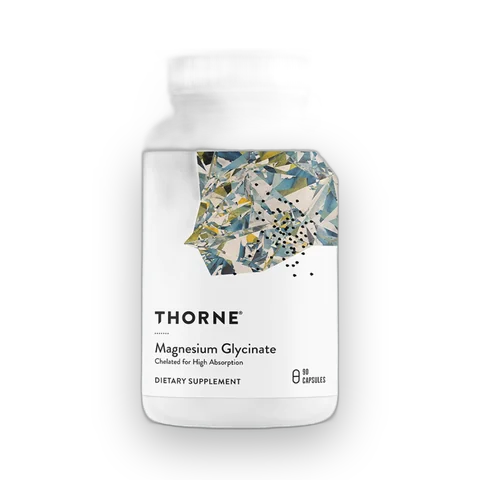
This is the only magnesium I've stuck with. Most cheap magnesium is oxide — barely absorbs and rough on your gut. Glycinate is the form that actually gets used, and Thorne's is the cleanest version of it I've found: no fillers doing the heavy lifting, no stomach drama, none of the "magnesium bathroom tour" the cheap stuff gives you. I take it in the evening — it's become part of the wind-down. Sleep's deeper, the random leg twitches after heavy lifting stopped, and I notice the difference on days I skip it. It's not flashy, it's just the one that works.
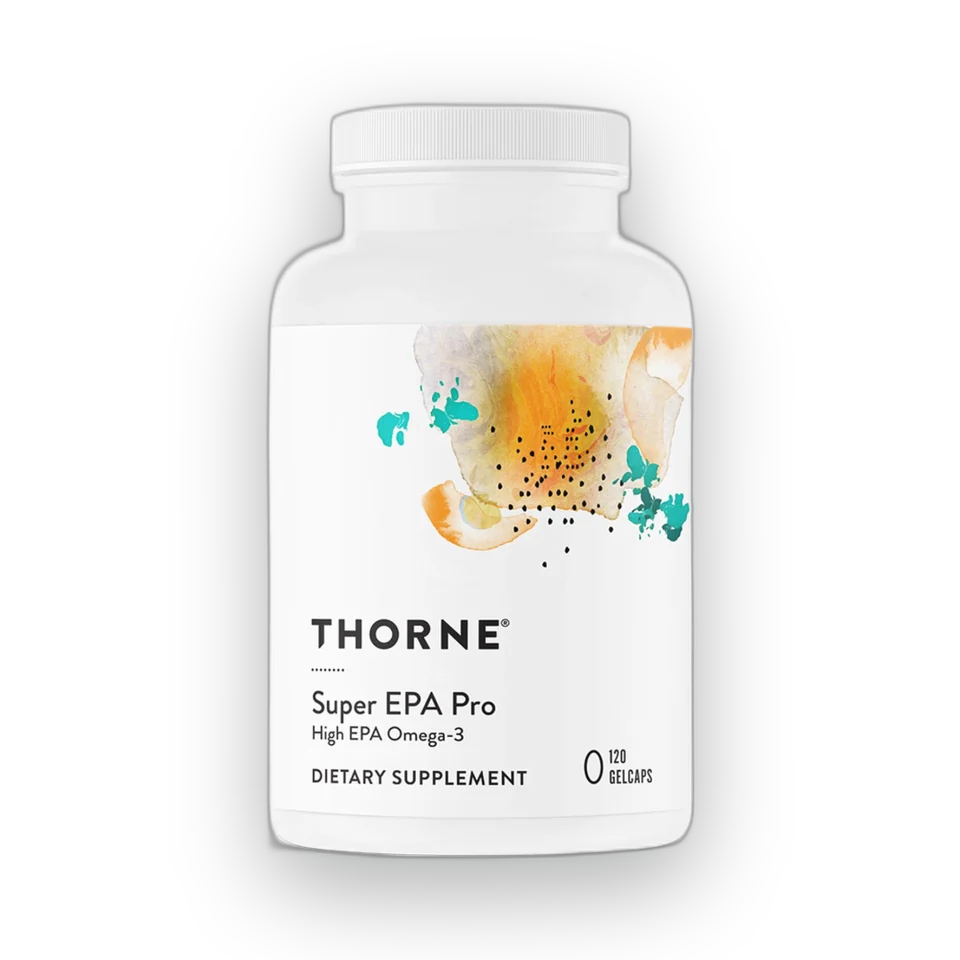
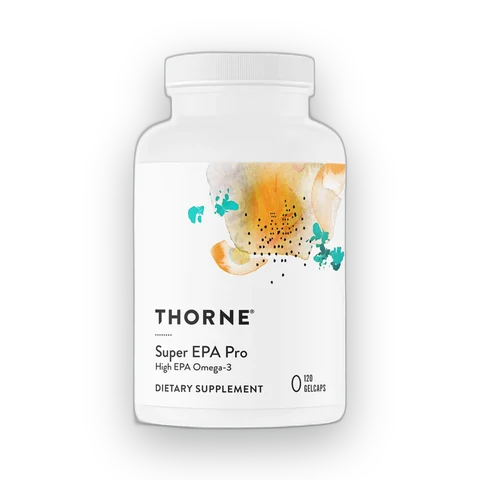
This is the fish oil I landed on after wasting money on the cheap stuff. The trick with omega-3s is comparing EPA per serving, not the big numbers brands put on the front — "4,080 mg fish oil!" sounds impressive until you read the label and the actual EPA works out to far less (target.com). My serving is 1,350 mg EPA in two small gelcaps — roughly 675 mg per cap, when a standard warehouse-store pill carries a fraction of that. It's CO2-extracted, so no solvents and no heavy-metal worries (thorne.com), and it's third-party tested. Worth watching for when you shop around: some of the cheap high-concentration oils use the synthetic ethyl ester form, which is cheaper to make and absorbs worse (vitalplanet.com). Zero fishy burps, no horse pills. I take two with dinner — it's the boring long-game stuff (blood lipids, circulation, inflammation) that you don't feel on day one but notice in your labs a year in. Do the per-serving math and it's not even that expensive.
1,350 mg EPA & 320 mg DHA per Serving, Supports Healthy Blood Lipids
The EPA needs to be taken with a meal to help with maximum absorption.
Tracking
Tools used to track progress are very important. These what I use and recommend
recommended
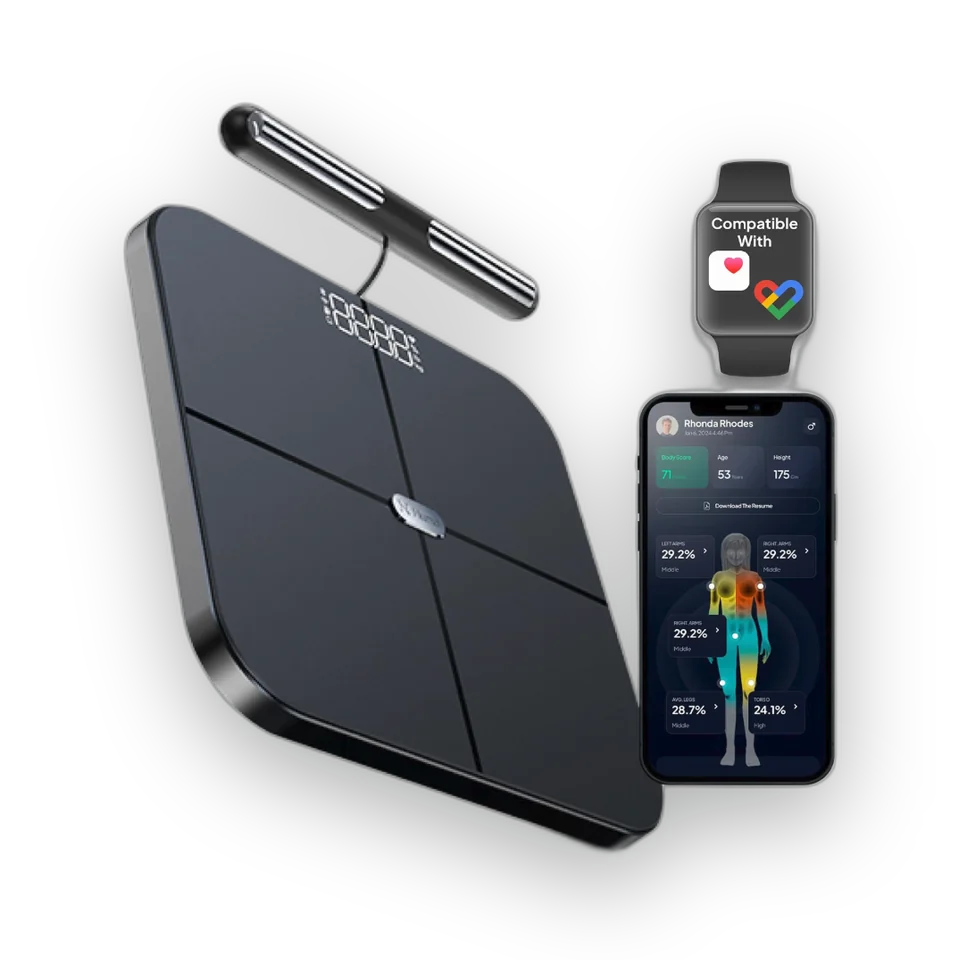
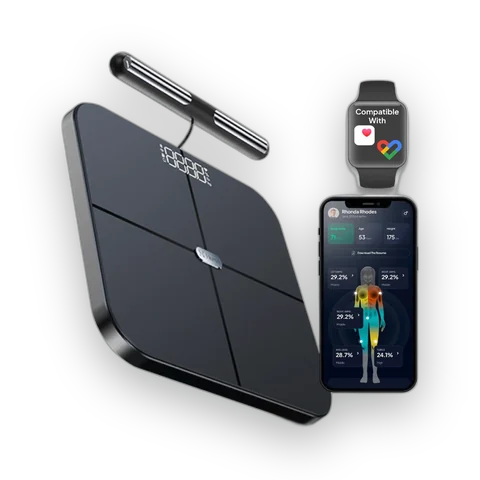
Yes, it's expensive. Yes, you can use another scale if you have one or don't want to buy this one. But you MUST have an accurate one. Ideally one that you can track on your phone. Otherwise, you MUST track your weight yourself, this data is critical to success.
The P21 label maker features BPA-Free Direct Thermal Technology. The label maker comes with a long-lasting built-in rechargeable battery for extended use. This label maker prints in monochrome (black text only). Note: Charging adapter not included

 Lab Rat Zer0